Home
Home  Navigation


This guide explains Hyper Light Breaker's lock-on targeting mechanic and when to use it. The game's lock-on system is crucial but often misunderstood. While helpful in certain situations, it's not always the best approach.
How to Target Enemies
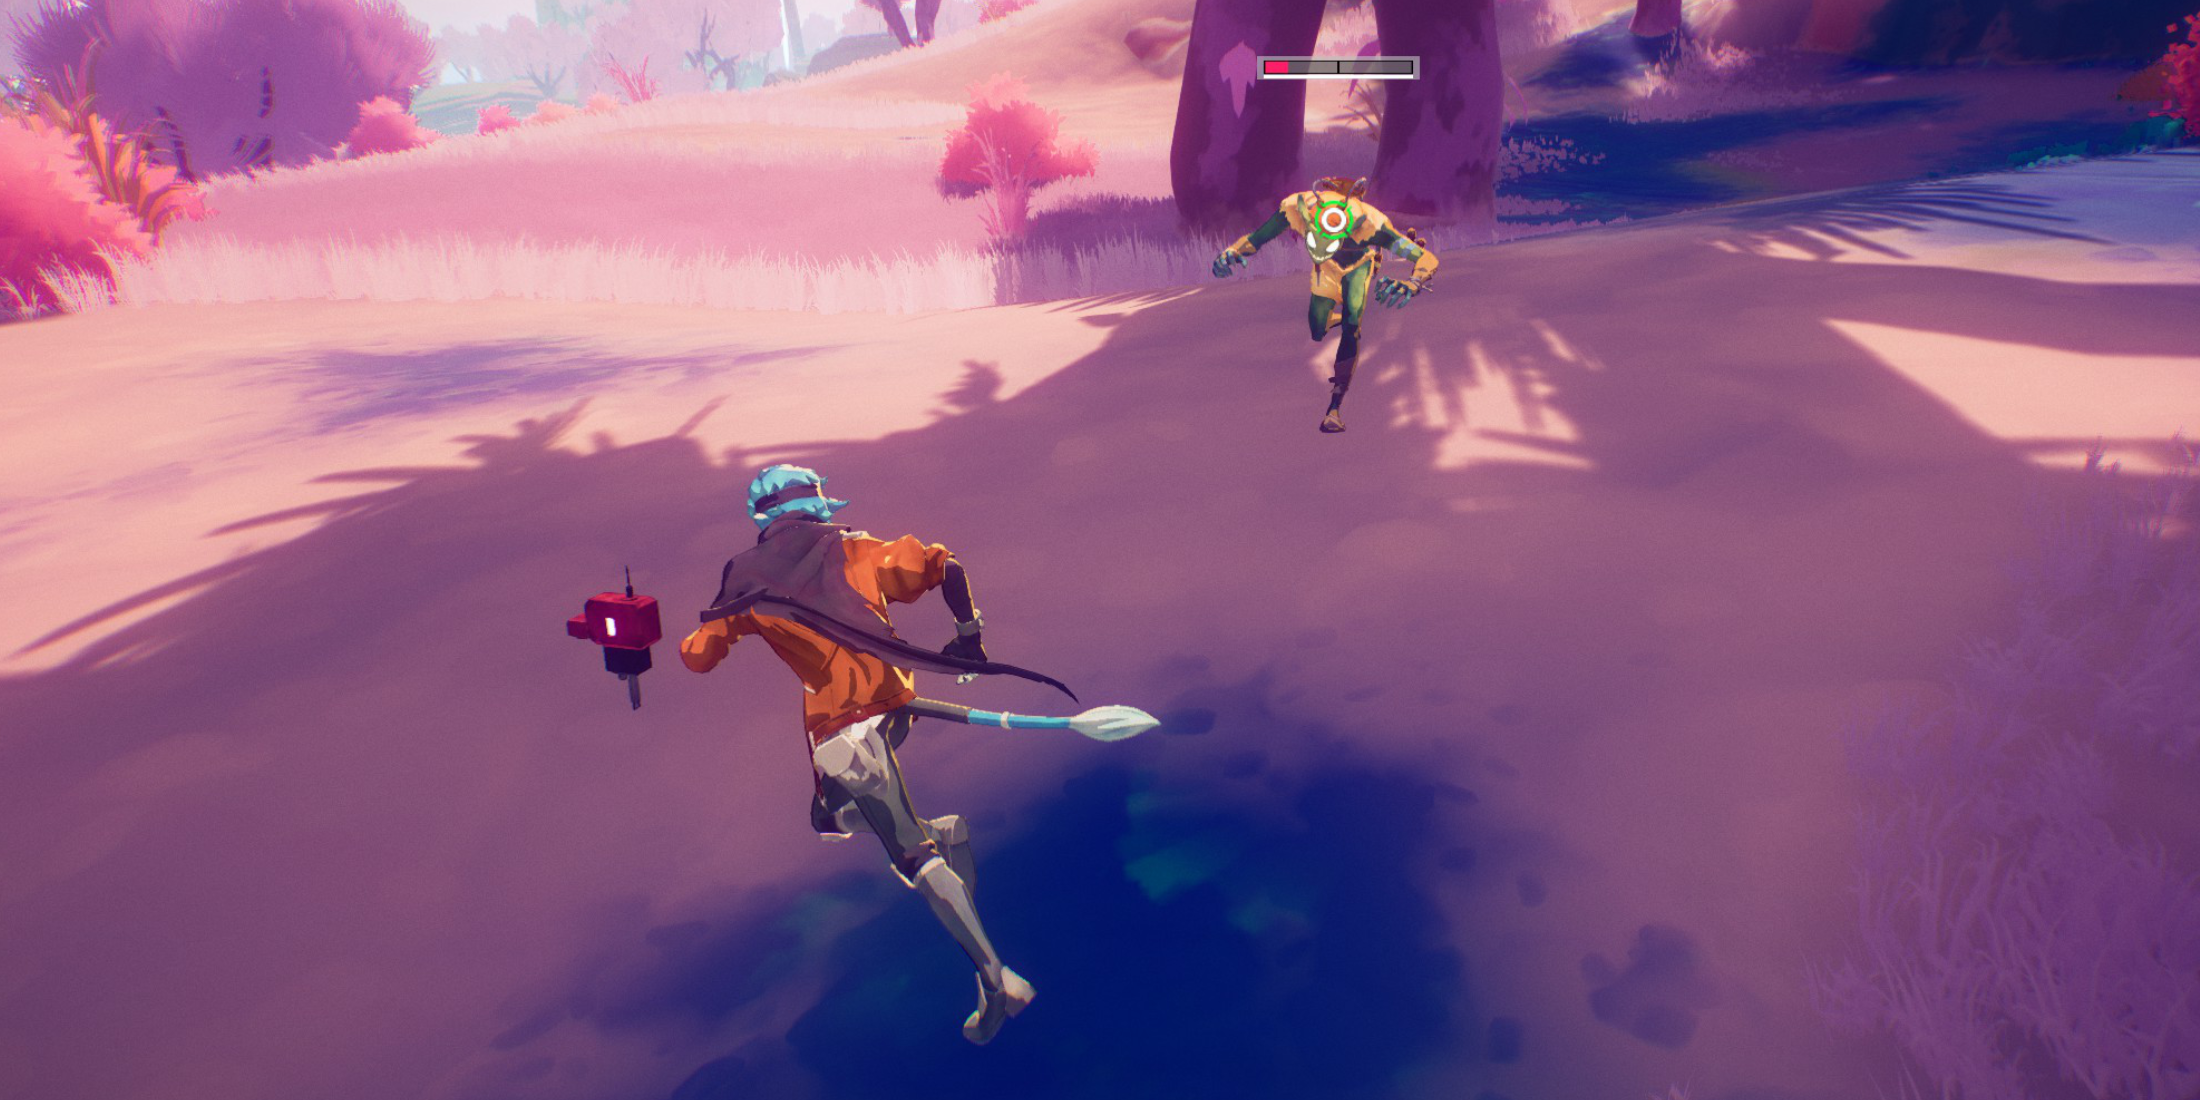 To lock onto an enemy, center your view on them and press the right analog stick (R3). The game will automatically select the nearest target, unless it's surrounded by others. A reticle will appear, and the camera will zoom slightly. Line of sight isn't required; the enemy just needs to be visible and within range.
Locked-on movement revolves around your target. Fast-moving enemies can make this disorienting, potentially altering your character's direction mid-movement. To switch targets, use the right analog stick to select a nearby enemy. Pressing R3 again cancels the lock-on, returning to the default free camera. The lock-on also automatically disengages if you move too far from the target.
Lock-on vs. Free Camera
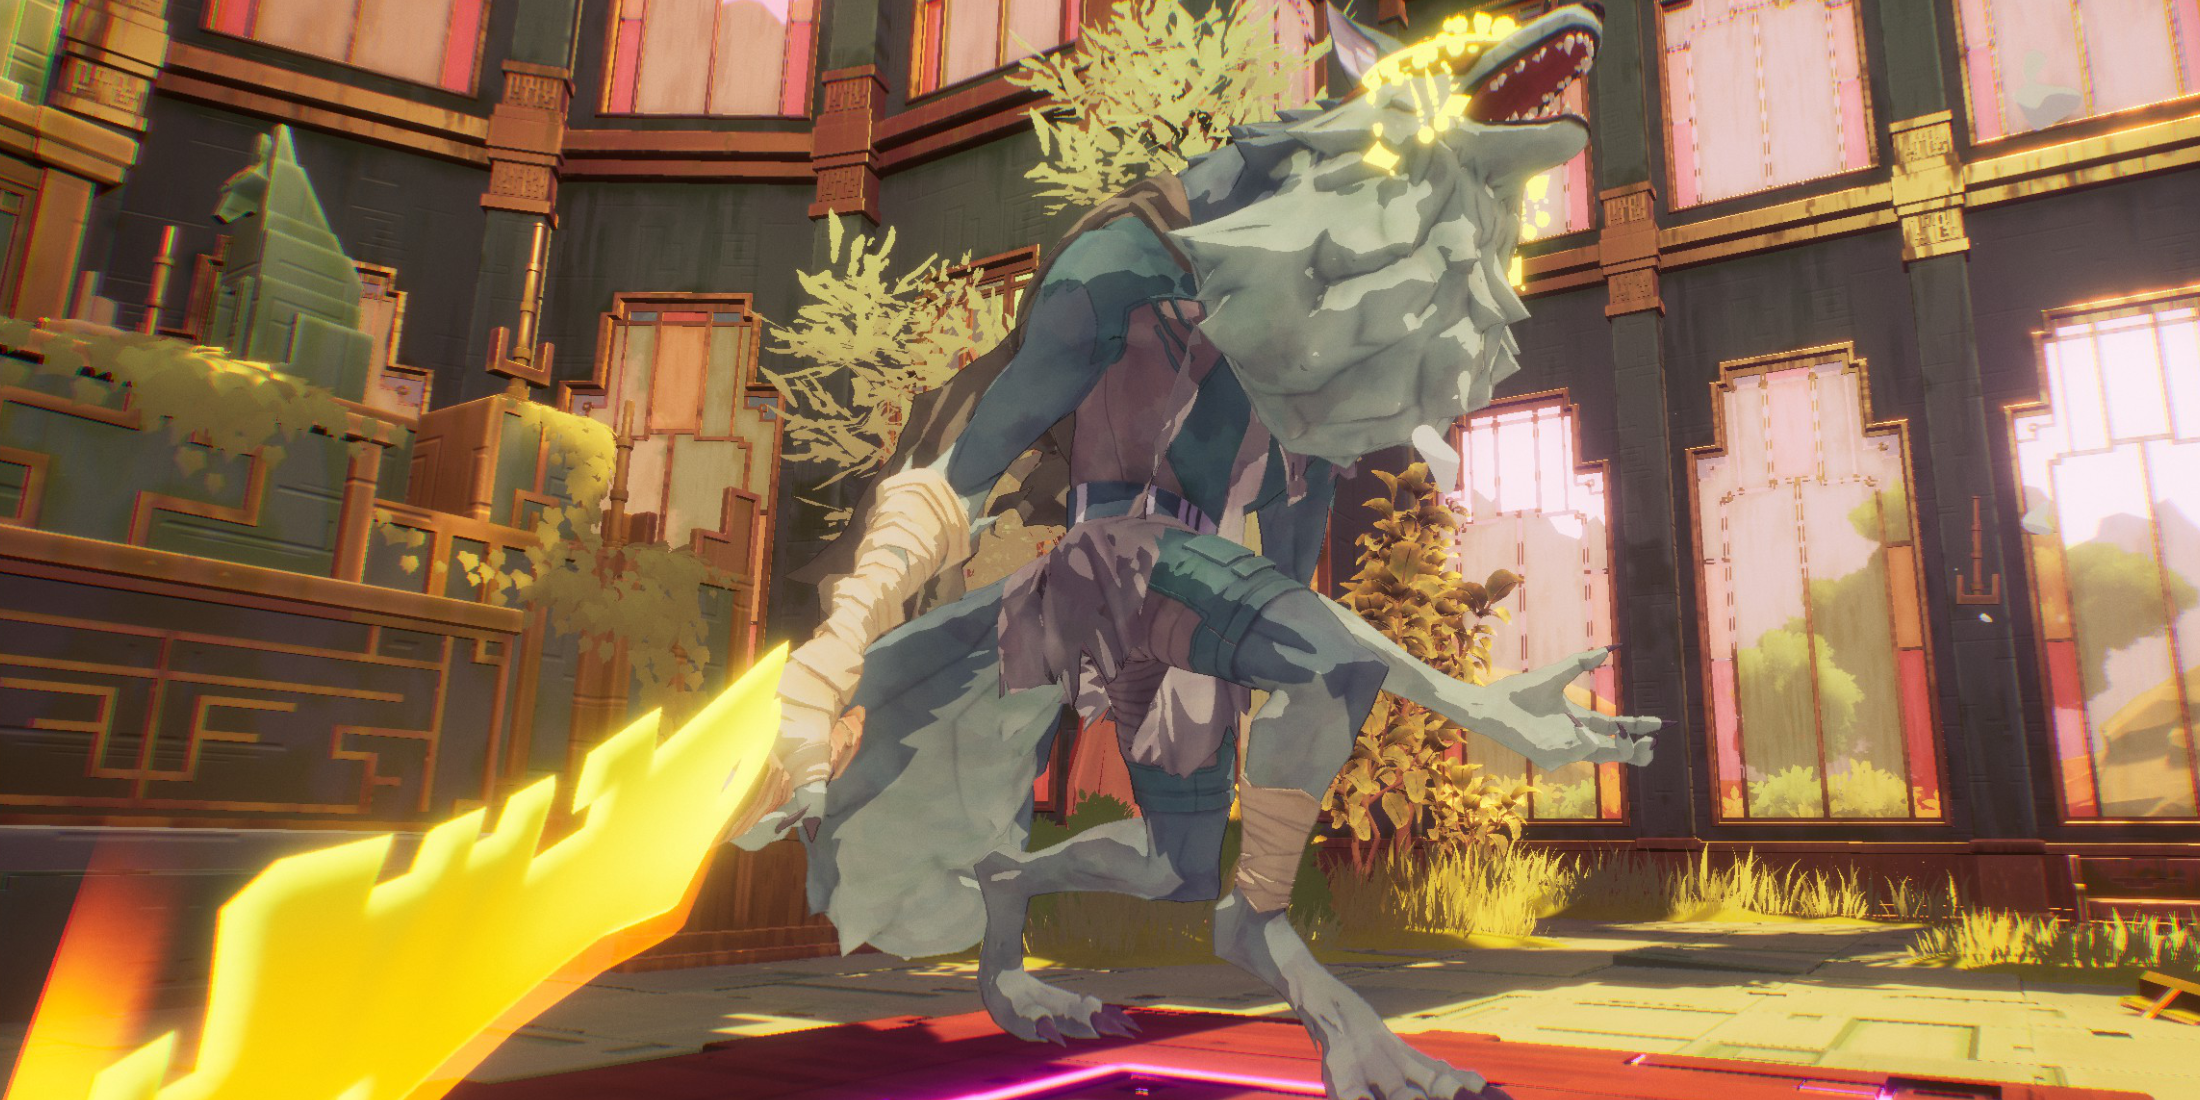 Lock-on excels in one-on-one encounters, especially against bosses or strong (yellow health bar) enemies—but only after eliminating other threats. The focused camera leaves you vulnerable to attacks from unseen enemies.
Free camera mode is generally superior. When facing multiple enemies or weaker foes, lock-on hinders your situational awareness. It restricts your vision, making it difficult to react to surrounding enemies.
Against mini-bosses or bosses, use lock-on after clearing weaker enemies. If more enemies appear, disengage the lock-on, then re-engage once the area is clear.
During Extractions, for example, maintain free camera mode until all regular enemies are defeated before locking onto the mini-boss. This maximizes your ability to react to threats.
 Latest Articles


 Latest Games