Home
Home  Navigation


If you enjoyed Dead Sails on Sails, you'll absolutely love the latest update and its thrilling challenges. Fear not—it’s tough, but mastering the Seven Seas and taking down the tentacled beast is well within reach. Spoiler alert: no trial and error required. I've crafted this comprehensive Dead Sails Kraken guide to walk you through the fresh content, accelerate your progression, and crank up the fun meter.
Recommended Videos
Table of Contents
- Dead Sails Kraken Boss Guide
- Dead Sails Kraken Tips and Tricks
- How to Defeat the Kraken Boss in Dead Sails Kraken
Dead Sails Kraken Boss Guide
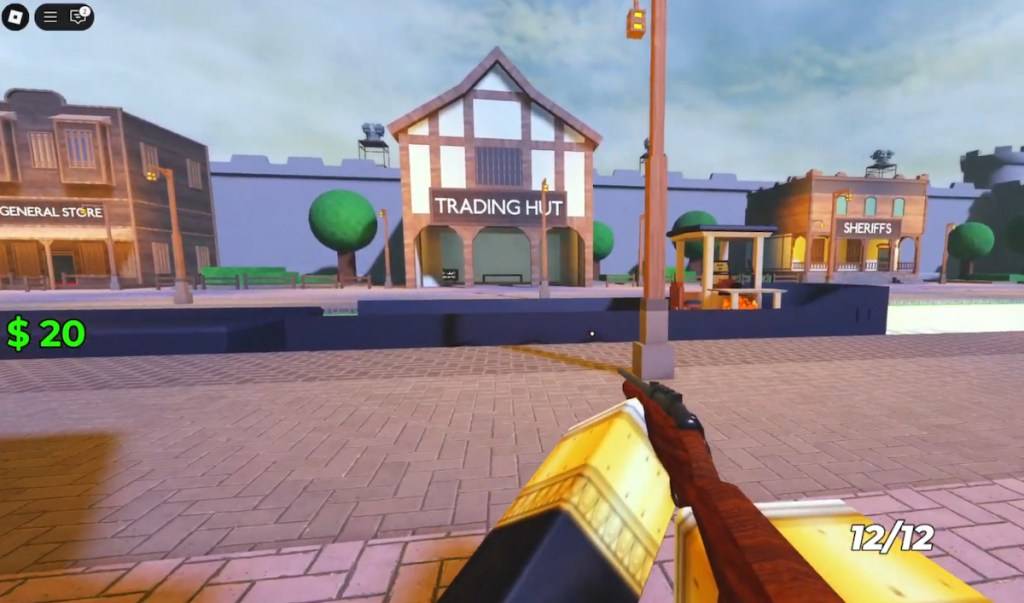
You’ll begin your journey smack dab in the middle of town, across the Gun Store and Hospital, and directly in front of the Trading Hut. The first order of business? Ditch any excess loot and gear up. Personally, I recommend a Rifle—it’s only $75 and packs enough firepower to fend off most enemies for a while. Don’t forget to stock up on coal to fuel the boat. After all, it runs on an old-school engine.
Screenshot by Destructoid
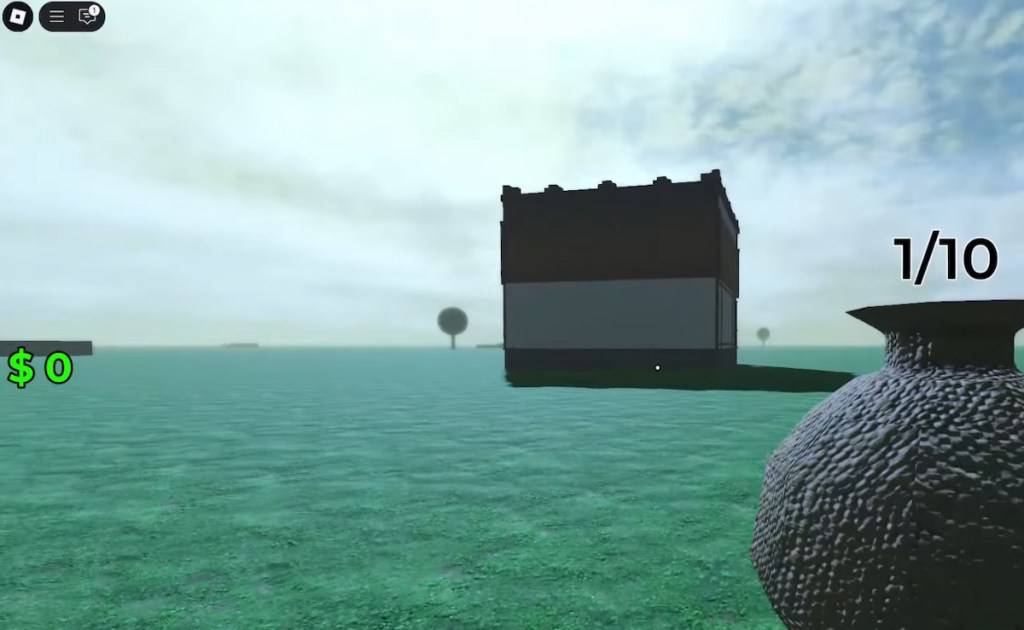
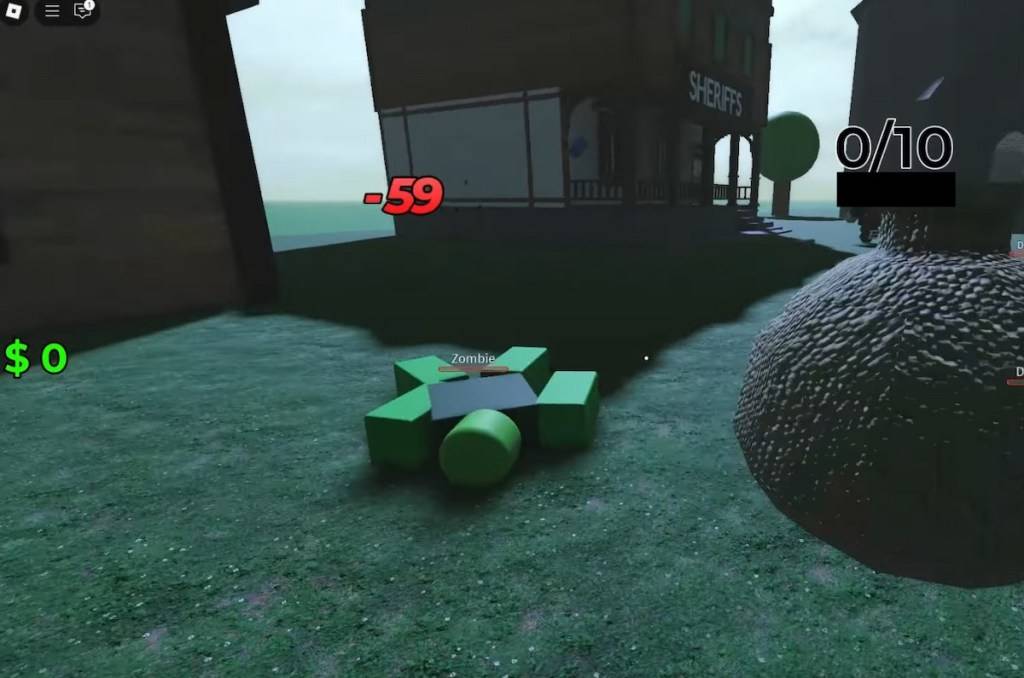
The next town is 10,000 meters away. All you need to do is get the ship moving again by burning more coal. You can pause to fight Zombies and Drowned along the way, but it’s usually not worth the hassle unless you’re desperate. Avoid the worm wriggling on the right side—it’s harmless. Wait until the second safe zone to sell your loot, but watch out for Big Foot and Zombie mobs on both sides of the river.

Screenshot by Destructoid
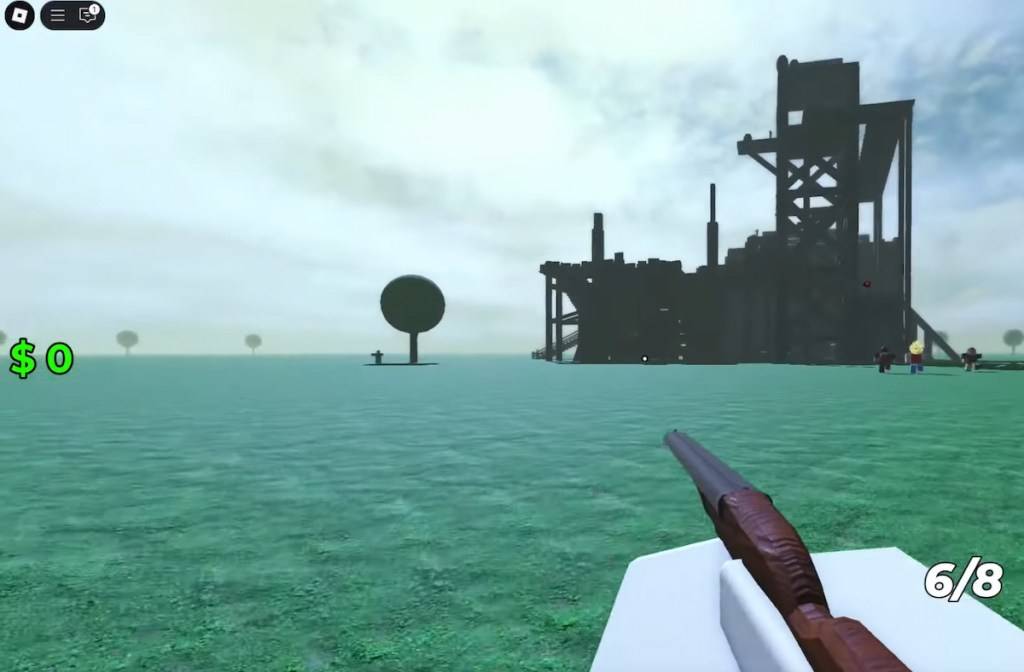
After the second safe zone, you’ll encounter numerous burning buildings teeming with mobs. If you’re playing solo, it’s better to skip them altogether since the spawn points are scattered everywhere. Around 12,000 meters, there’s a castle-like house packed with Drowned—but it’s also loaded with Shotgun ammo and other valuable loot. Use this opportunity wisely.
Screenshot by Destructoid
Dead Sails Kraken Tips and Tricks
The core gameplay loop remains simple: kill, loot, repeat. However, to excel, you need to embrace efficiency. Use your boat as your primary inventory—empty your bag whenever you return to it.

Screenshot by Destructoid
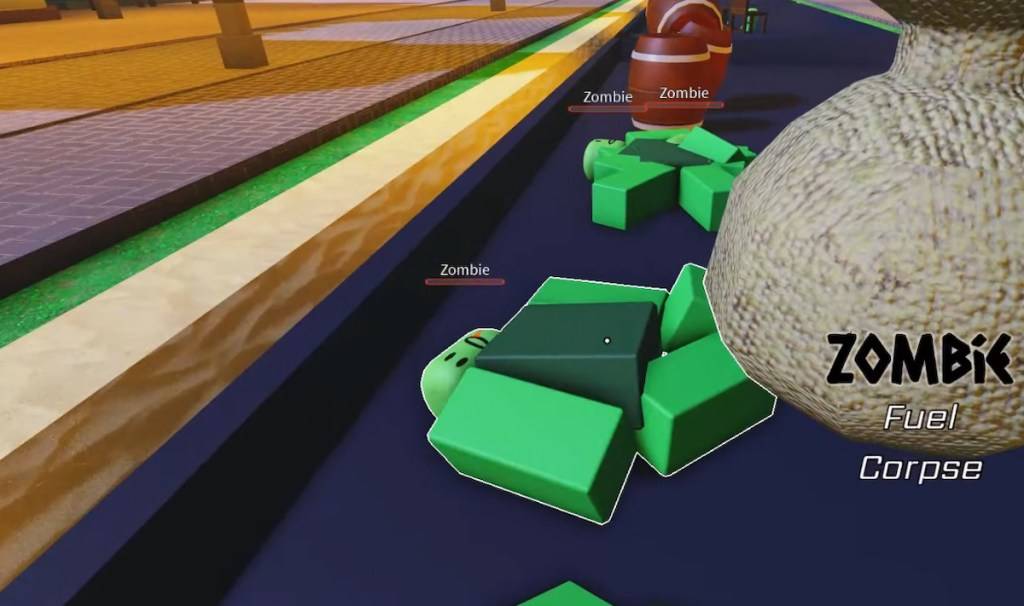
One of my biggest tips for this guide? Stack Zombies near the incinerator. While it’s tempting to rush out of those backwater towns, organizing your loot efficiently will pay dividends. Need more fuel? Toss a few Zombies in and you’re good to go.
Screenshot by Destructoid
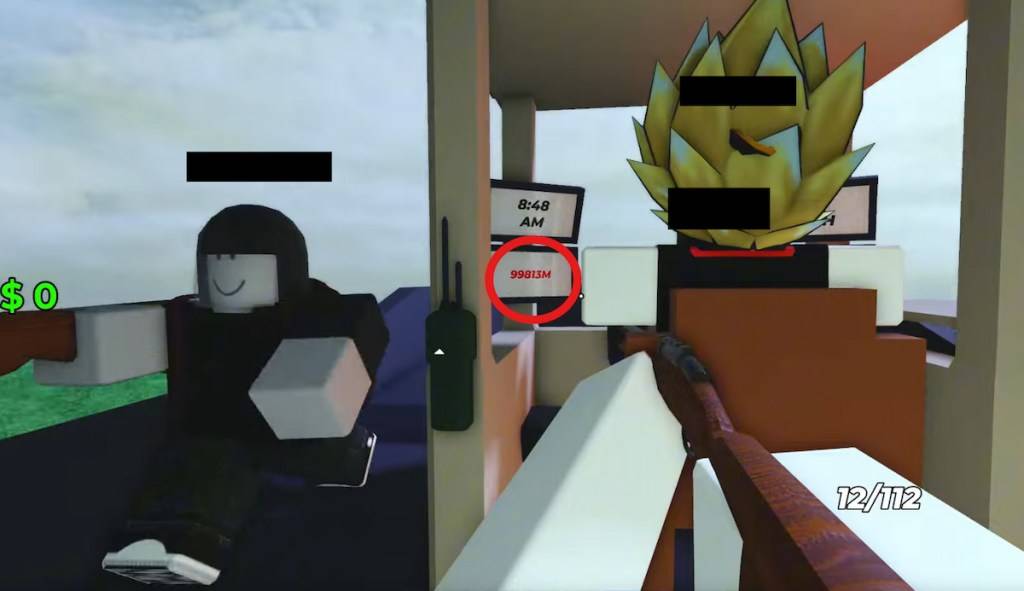
Be cautious when exploring Sheriff’s offices. They tend to house larger groups of mobs, but the rewards—weapons, ammo—are worth it. My friend and I found plenty of Shotgun ammo by having him clear the ground floor while we searched upstairs.
Screenshot by Destructoid
Save your ammo, weapons, fuel, and medkits for the fortress around 25,000 meters. It’s still under construction, so mobs can ambush you easily. Aim for a group of at least three, with five being ideal. Focus on grabbing the loot efficiently.
Screenshot by Destructoid
Avoid engaging Big Feet after 30,000 meters. They’re brutally strong and hit like trucks. Save your resources and move swiftly. Remember, loot isn’t everything.
The town after 50,000 meters is one of my favorites for farming. With dozens of Zombies and Drowned, it’s perfect for friends with Shotguns or Sawnoffs. It’s also a fantastic spot to collect corpses for fuel—coordinate with your team to prep them quickly.
How to Defeat the Kraken Boss in Dead Sails Kraken
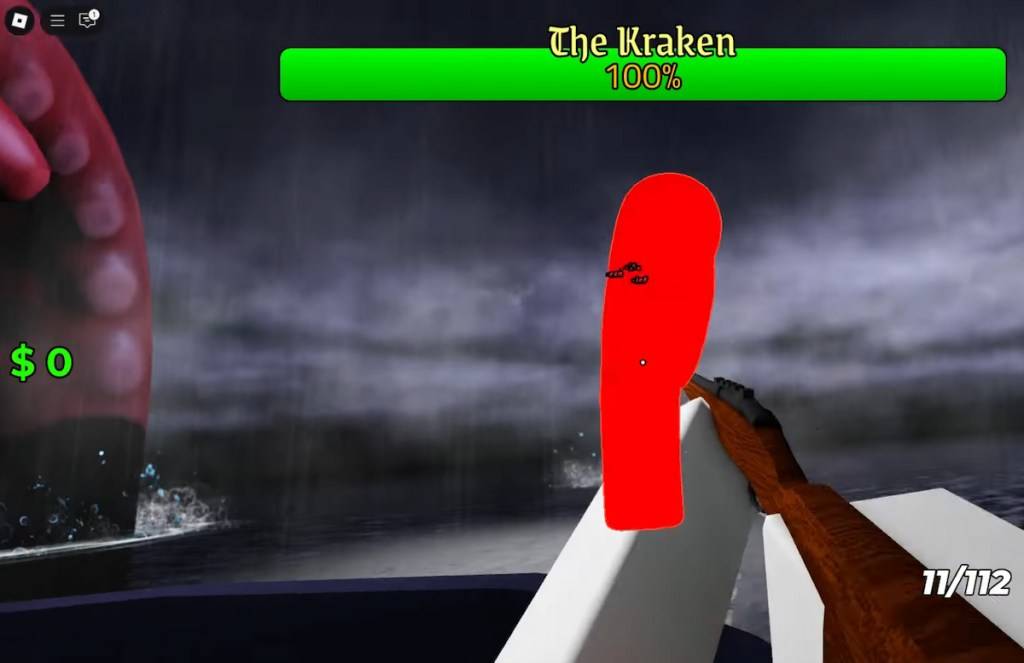
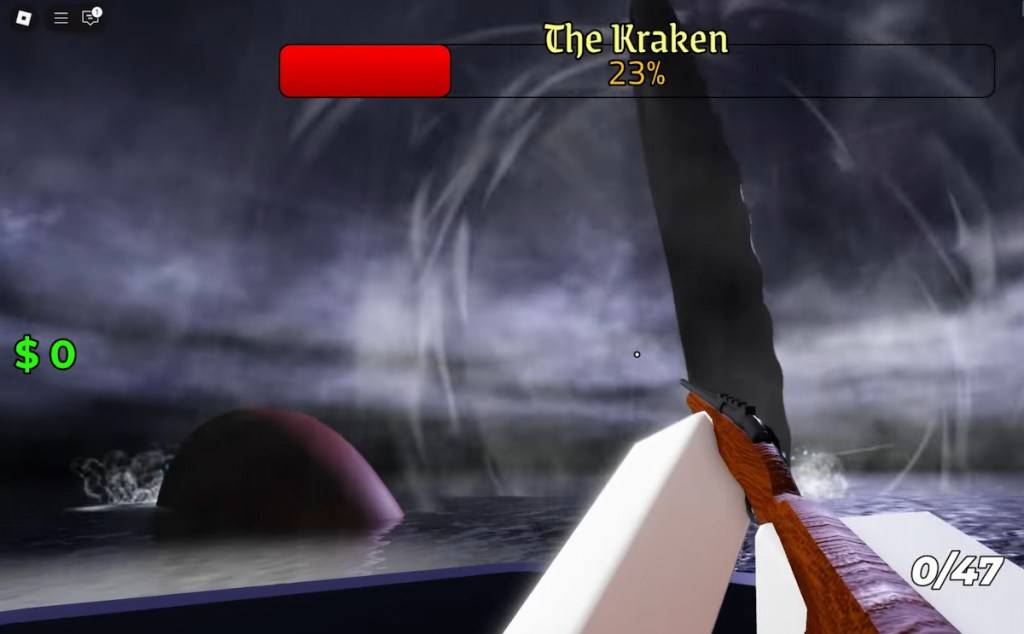
Before facing the Kraken, sell everything in the final safe zone and stockpile ammo, weapons, and medkits. Always keep a reserve of at least 8-10 corpses for fuel during this stretch. You’re nearly there. At around 100,000 meters, you’ll reach open waters and face the beast. The warning sign? The skies will darken.
Screenshot by Destructoid
The camera zooms out, and the Kraken emerges. Everyone must pick a tentacle—each attacks and damages if not dealt with promptly. If you’re in a group of five, form a pentagram-like formation and focus on your individual tasks.
Screenshot by Destructoid
Be mindful of the water splash ability. It hits multiple players and is preceded by the Kraken winding back and creating a water trail. Keep those medkits handy—some damage is unavoidable.
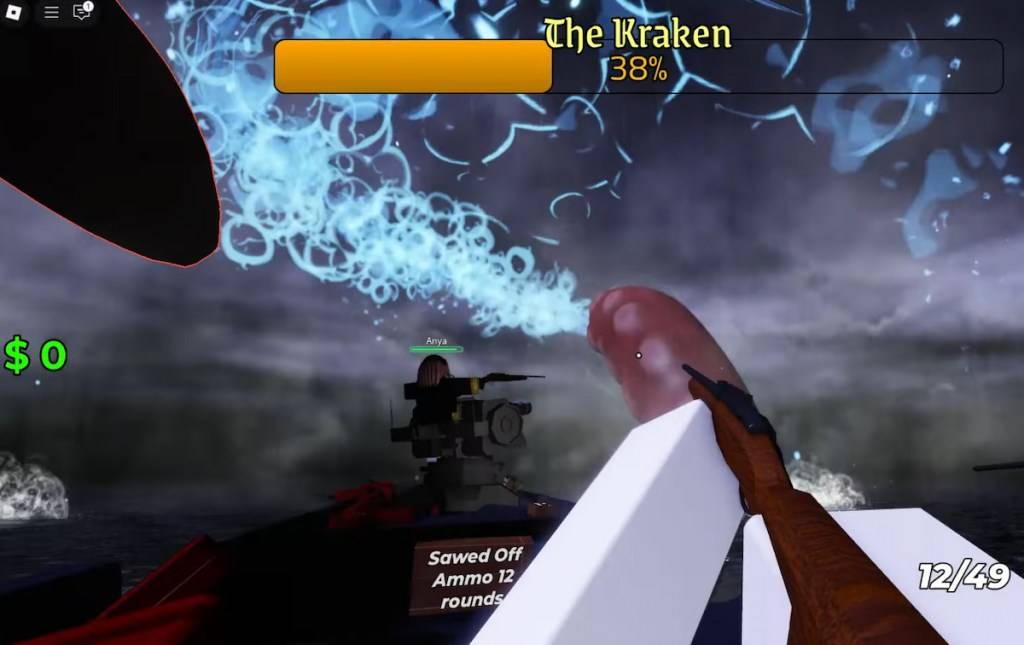
Screenshot by Destructoid
Lastly, beware of the Roar AoE, which causes minor damage but cannot be blocked. It also seems to give the Kraken a slight damage buff. Look for the white concentric circles emanating from the affected tentacle.
Screenshot by Destructoid
That’s all there is to it! Follow this guide, and you’ll conquer the Kraken in no time. For an even smoother experience, grab one of our Dead Sails codes and push your limits. Smooth sailing ahead!
 Latest Articles


 Latest Games